



When I started building my first Android app, I made almost every mistake a beginner can make. I jumped straight into writing code without understanding the project structure and ignored testing until the very end, and I definitely asked for more permissions than I needed.
Over the years working across native Android, iOS, and Flutter, I’ve learned that most beginners struggle not because Android development is hard, but because nobody explains the workflow clearly enough.
This guide walks you through exactly what I wish someone had told me when I was starting: what to learn first, how to structure your work, and how to avoid the common traps that slow beginners down.
A Quick Look at Android Development Tips for Beginners
- Set up Android Studio, the Android SDK, and a working emulator or physical device before you start coding.
- Learn Kotlin fundamentals and understand concepts such as null safety, JSON parsing, lambdas, and coroutines.
- Understand the Android project structure, including the manifest, resources, Gradle files, activities, and source folders.
- Start with a small app and build it feature by feature instead of trying to create a complex project at once.
- Keep your interface simple, follow Material Design principles, and make layouts work across different screen sizes.
- Use a basic MVVM architecture to separate the UI, app logic, and data sources as your project grows.
- Request only the permissions your app actually needs and handle sensitive user data securely.
- Test your app on different Android versions, screen sizes, and real devices before release.
- Use Logcat, breakpoints, and stack traces to find the actual cause of bugs instead of guessing.
- Prepare your app for release with a signed build, proper store assets, performance checks, and Google Play requirements.
1. Start With the Right Development Environment
Before you write a single line of code, get your environment right; it saves you hours of frustration later.

- Install Android Studio. It’s the official IDE, and everything from templates to debugging tools is built around it.
- Set up the Android SDK and required tools. Android Studio prompts you through this, but make sure you install the SDK version you plan to target.
- Emulator vs. physical device: I always recommend using both. The emulator is great for quick iteration, but a real device catches performance and touch-response issues an emulator simply won’t show you.
- Create a basic project and run it before doing anything else. If “Hello World” builds and runs on your device, your environment is ready.
2. Learn Kotlin (or Java) Before Building Complex Native Apps
I’ve seen a lot of beginners try to build a full app while learning the language, and at the same time, it usually ends in confusion. Get comfortable with the language first.

- Kotlin basics: variables, functions, and classes; data parsing like JSON parsing
- Null safety: this one trips up almost everyone coming from other languages, but it’s one of Kotlin’s best features once it clicks.
- Android-specific Kotlin concepts like lambdas, extension functions, and coroutines, which you’ll rely on constantly once you start handling background work.
3. Understand Android Project Structure
A lot of beginners open a new project, get overwhelmed by the folders, and start randomly clicking around. Take ten minutes to understand what’s actually there:
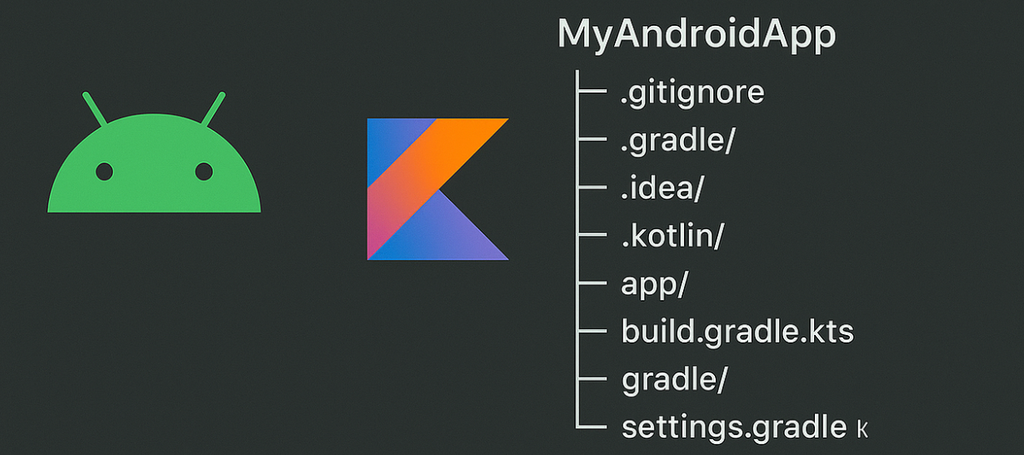
- AndroidManifest.xml: Entry point of all applications, which declares your app’s components, permissions, and basic configuration.
- Activities and XML layouts: Your screens and how they’re visually structured.
- Resources folder: Strings, colors, images (drawables), and other assets kept separate from code so your app is easier to maintain and localize.
- Gradle files: Control your dependencies and build configuration.
- src/main: Where the actual application code and resources live.
Once you know what each piece does, the whole project stops feeling like a black box.
4. Build a Small App First
Don’t start with your dream app idea. Start small.
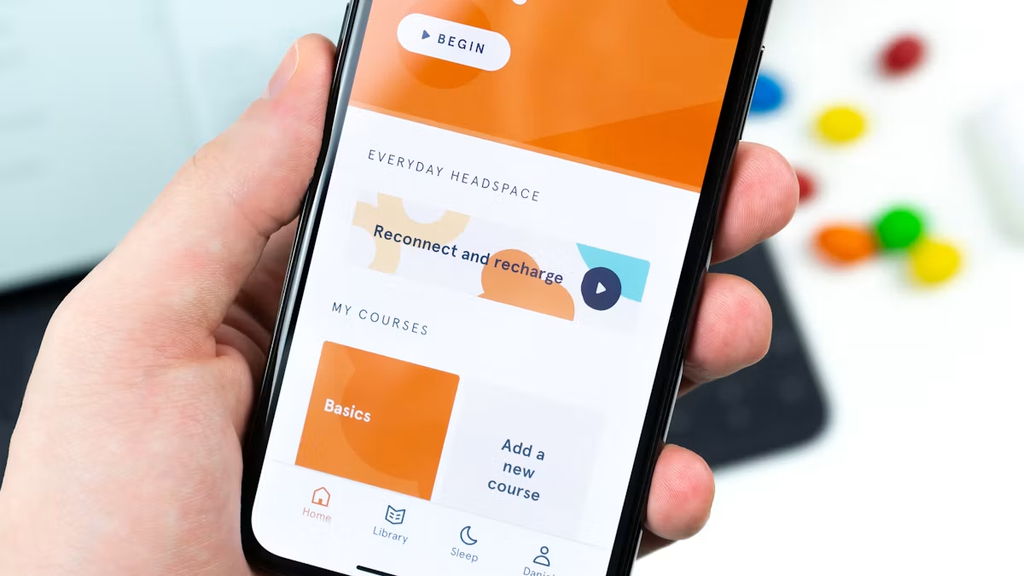
- A calculator, a notes app, or a to-do list are perfect first projects — simple enough to finish, but rich enough to teach you real concepts.
- Break features into small tasks. Instead of “build the notes app,” think “create the input field,” then “save a note,” then “display the list.”
- Test each feature separately as you build it, rather than waiting until everything is wired together. This is the single habit that will save you the most debugging time later.
5. Design a Simple and Usable Interface
You don’t need to be a designer, but a few basics go a long way:
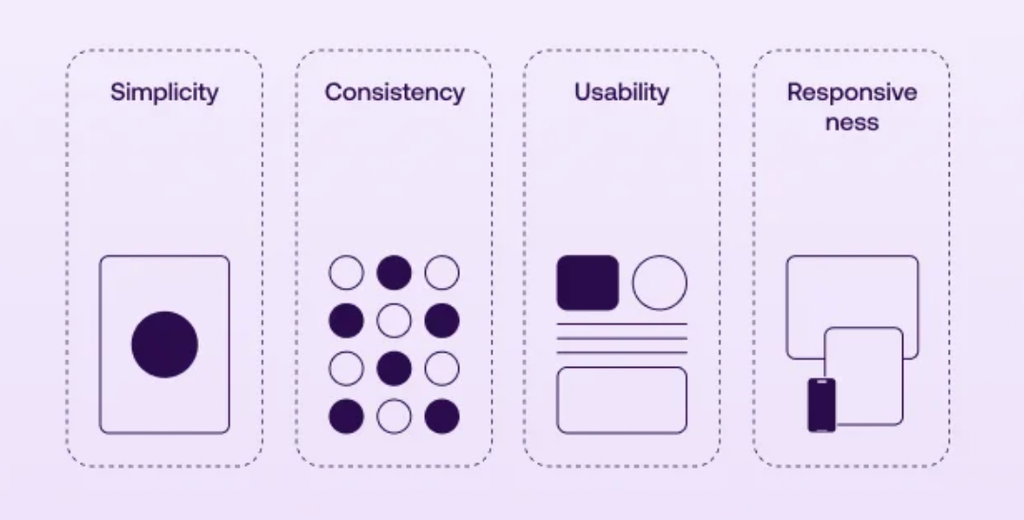
- Follow Material Design principles. They exist so your app feels familiar and intuitive to Android users.
- Pay attention to spacing and typography. Cramped text and inconsistent margins are the fastest way to make an app feel unpolished.
- Support different screen sizes, including both Android phones and tablets. I learned this the hard way early on — a layout that looked perfect on my test phone broke completely on a tablet.
6. Learn Android App Architecture
This is where a lot of beginners start writing everything inside one Activity — I did too, at first. A basic architecture keeps your code manageable as the app grows:
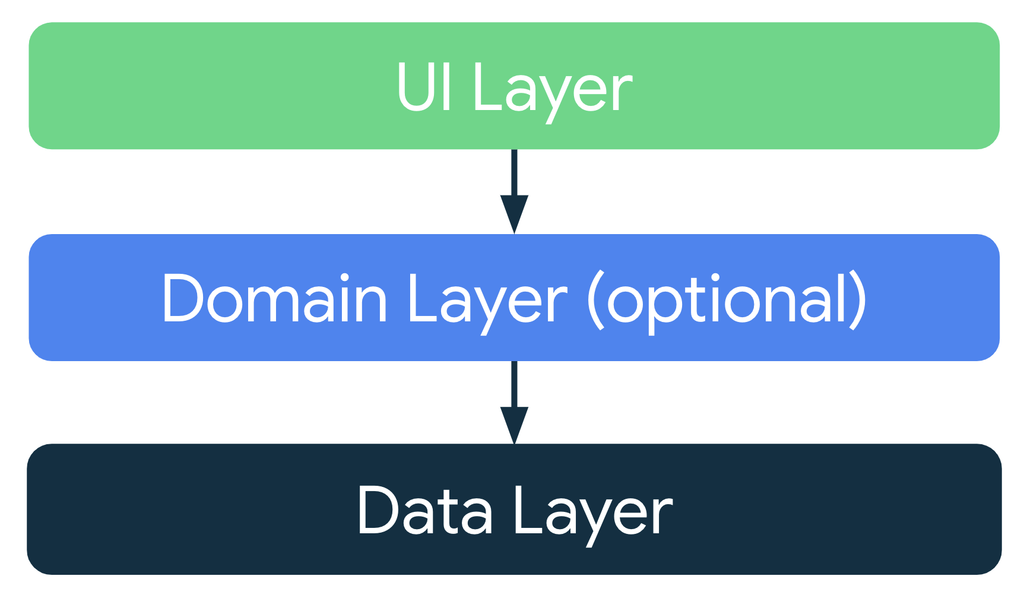
- UI layer: What the user sees and interacts with.
- ViewModel: Holds UI state and survives configuration changes like screen rotation.
- Repository: The single source of truth for your data, whether it comes from the network or local storage.
- Data layer: Your actual data sources (APIs, databases).
A simple MVVM example: your UI observes the ViewModel, the ViewModel asks the Repository for data, and the Repository fetches it from an API or database. Once you build one feature this way, the pattern becomes second nature.
7. Handle Permissions and User Data Carefully
This is an area where I’ve seen real apps get rejected or flagged, so take it seriously from day one.
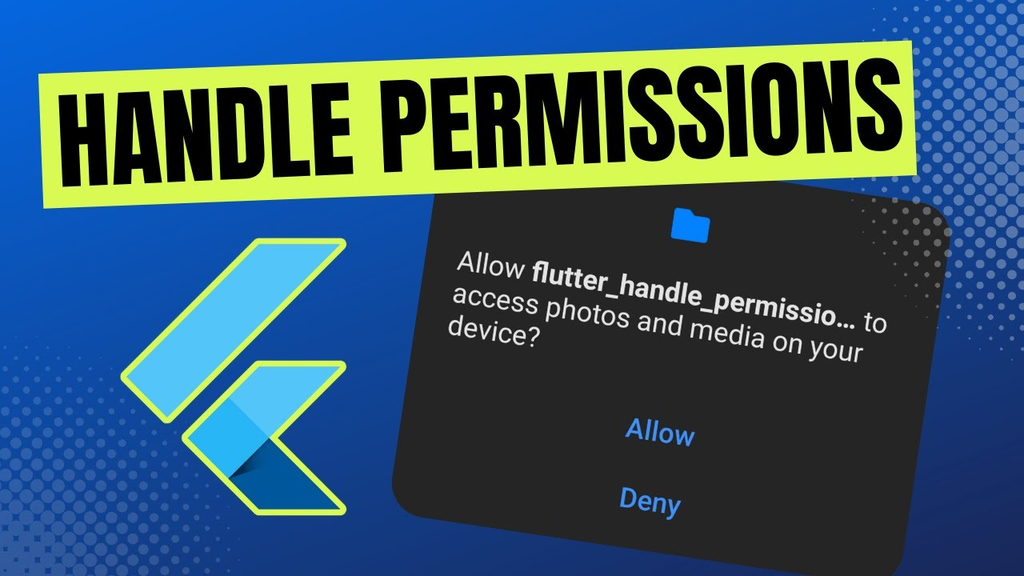
- Use runtime permissions correctly — don’t request everything upfront.
- If you use dangerous permissions, be ready to explain and justify them when submitting your app to the Play Store — Google requires advance disclosure for many of these.
- My honest advice: try to use as few permissions as possible. Every permission you skip is one less thing users have to trust you with, and one less thing that can hold up your Play Store review.
- Be careful with local storage and always keep sensitive information secure — never store things like tokens or passwords in plain text.
8. Test Your App on Real Devices
An app that works perfectly in the emulator can still fail badly in the real world.

- Test across different Android versions, not just the latest one.
- Test on different screen sizes, including budget devices with smaller screens.
- Don’t skip older or lower-spec devices — performance issues often only show up here.
- Watch for crashes, ANRs (App Not Responding errors), and UI glitches that only appear under real-world conditions.
9. Debug Problems Instead of Guessing
Guessing what’s wrong is slow and frustrating. Debugging systematically is faster, every time.
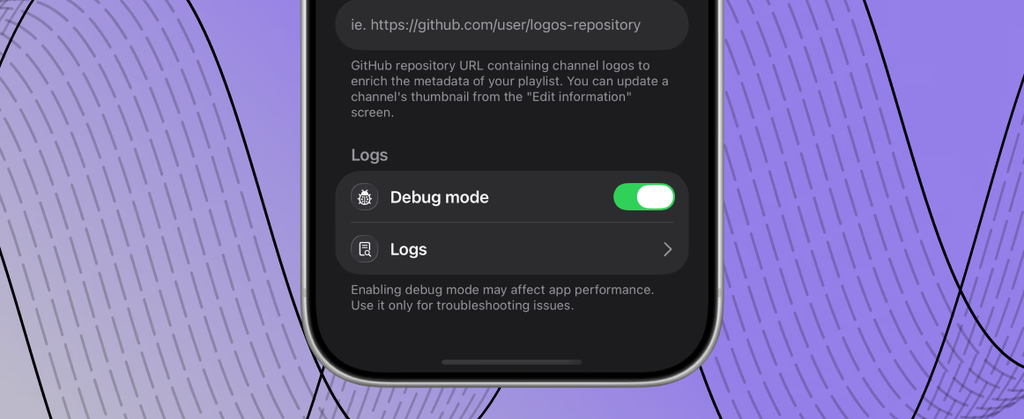
- Use Logcat to see exactly what’s happening when something breaks, For example log.d(“”) => print debugs, log.e()=> print error messages. It depends on you which one you use
- Set breakpoints so you can inspect your app’s state step by step.
- Read stack traces carefully — the actual cause is often a few lines down from where the error first appears.
- Over time, you’ll start recognizing patterns behind common crashes, and diagnosing issues becomes much faster.
10. Prepare the App for Release
Getting your app ready for the Play Store involves more than just hitting “build.”

- Prepare your app icon, feature graphic, and screenshots for both phones and tablets.
- Generate a proper release build and make sure it’s signed correctly.
- Do a final performance check to catch anything you missed during testing.
- Familiarize yourself with the basics of Google Play submission, including store listing requirements and review guidelines.
Final Words Before You Continue Your Android App Development
None of this requires you to be an expert on day one – I certainly wasn’t, and my first Android app was far from perfect. What actually makes the difference is building the right habits early: understanding your project structure, testing as you go, being deliberate about permissions, and debugging methodically instead of guessing.
If I had to recommend just one place to start, it’s this: don’t try to learn everything at once. Pick a small app, follow these steps in order, and let each concept sink in through actual practice rather than reading. That’s exactly how I built my foundation, and your first Android app will be in far better shape than mine was.
Android Developers also Want to Know:
Kotlin is the better starting point today; it’s Google’s preferred language for Android, has built-in null safety, and most modern tutorials, libraries, and Jetpack tools are written around it.
The emulator is fine for early testing and quick iteration, but you should test on a real device before finishing any feature – things like performance, touch response, and battery behavior often show up differently on actual hardware.
Something simple and self-contained, like a calculator, notes app, or to-do list. It’s small enough to actually finish, but still teaches you core concepts like UI, data handling, and basic architecture.
Only the ones it genuinely needs to function. Fewer permissions mean fewer Play Store compliance issues and more user trust, and any dangerous permission you do use should be clearly justified when you submit the app.
